flowchart LR
    A["**Add attestation**"] --> B["**Configure**<br>• Attestation period<br>• Custom fields<br>• Questionnaire template"]

    O["**Optional**<br>• Test<br>• Edit<br>• Remove"]
    B -.-> O

    click A "#add-attestations" "Go to Add attestations section"
    click B "#configure-attestations" "Go to Configure attestations section"
    click O "#test-attestation-schedules" "Go to Test attestation schedules section"
Set up attestations
Enable model owners and validators to step through the attestation process required by your organization.
The steps required to set up attestation
Setting up attestations involves adding an attestation, configuring the attestation period, adding custom fields, and editing the questionnaire template. Optionally, you can also execute the attestation schedule to test the process, and edit or remove attestation periods.
Prerequisites
Add attestations
In the left sidebar, click Settings.
Under Workspace, select Attestations.
Click Add Attestation.
Enter a name and description for the attestation.
Click Add Attestation.
Configure attestations
In the left sidebar, click Settings.
Under Workspace, select Attestations and then click an attestation to configure.
Attestation periods are typically scheduled quarterly or annually and should be configured to align with regulatory or internal review cycles:
Click Add Attestation Period.
Enter a name for the attestation period, such as
Quarterly attestation.Set the start date for the attestation period.
Set the end date when the attestation period ends.
Click Add Period.
When the attestation period begins, the system triggers the process automatically. Model owners are then notified via a banner on their dashboard prompting them to complete the attestation questionnaire.
By default, attestations include the model name. Add additional model inventory fields as needed:
Under Relevant Attestation Fields, drag model inventory fields between columns:
- Model Inventory Fields — Available fields from the model inventory
- Relevant Attestation Fields — Selected fields to display in model snapshots
Optional: Reorder the fields to change how they display in the attestation.
Attestation questionnaires should confirm that key controls, governance processes, and documentation requirements have been followed.
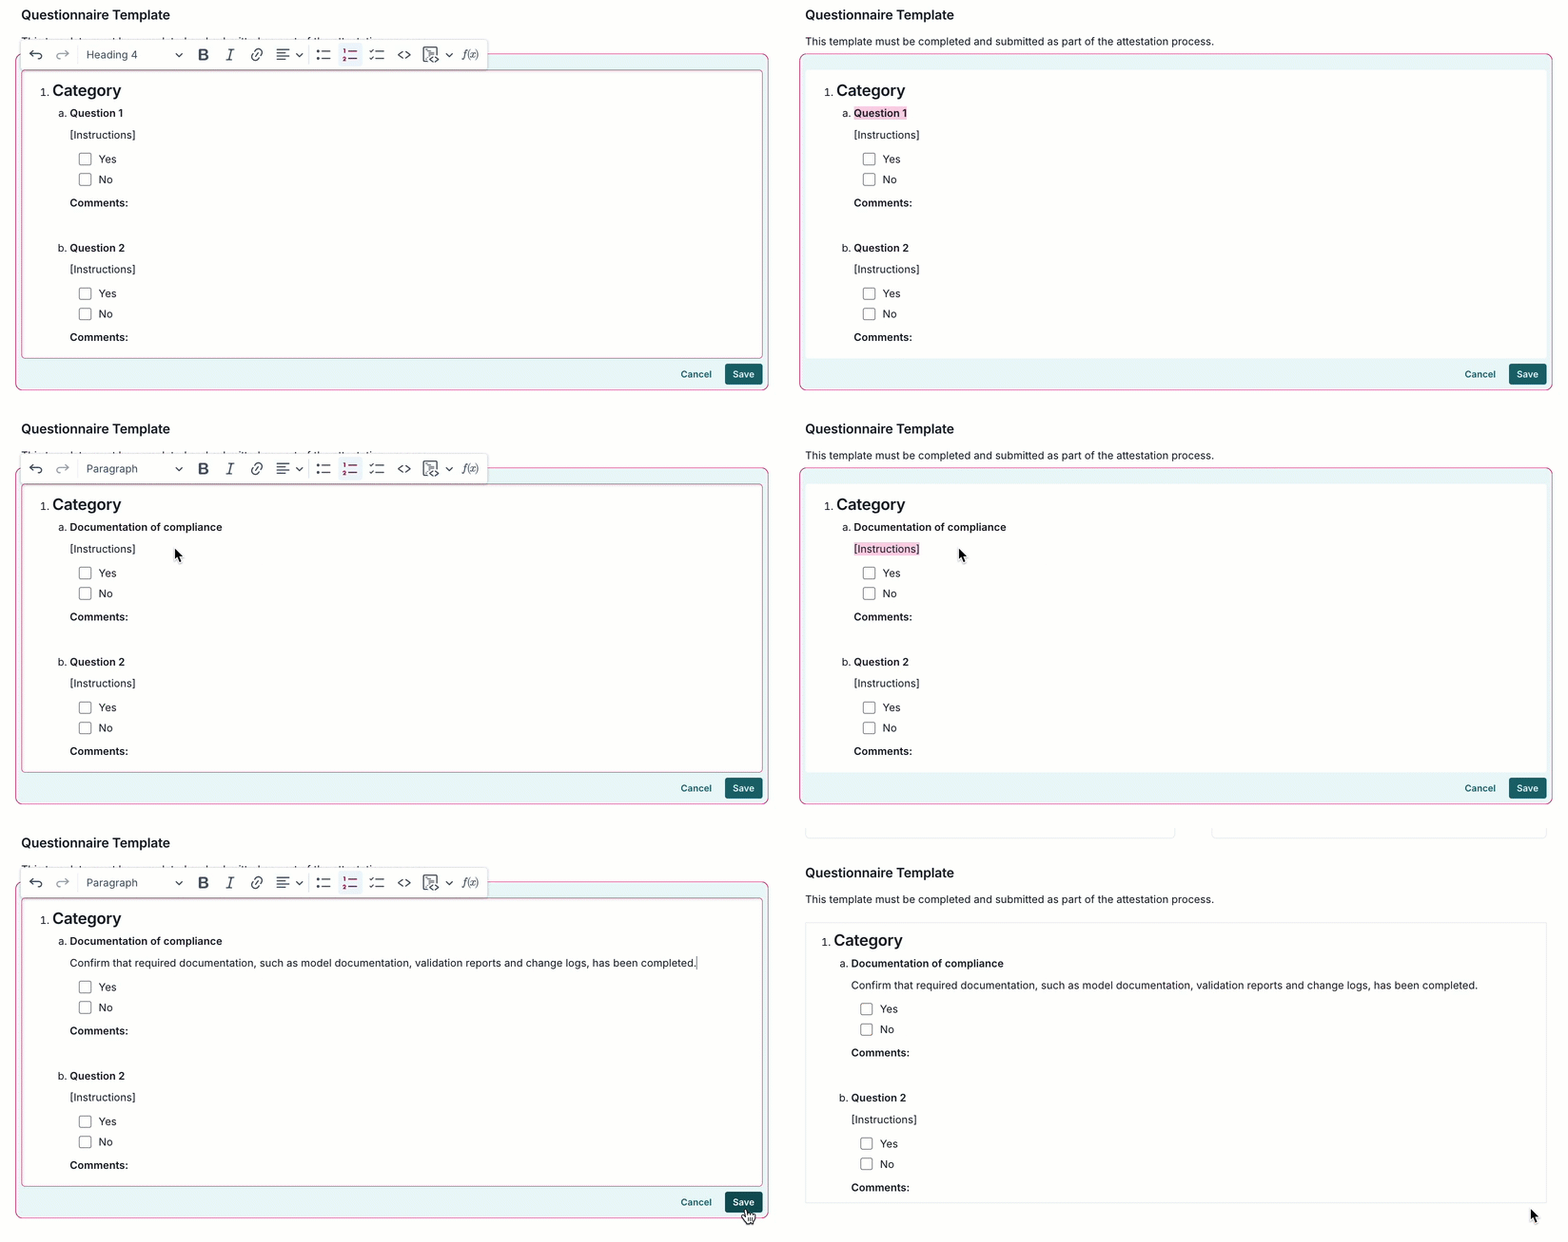
Under Questionnaire Template, click the template area to edit. You can add rich text fields such as:
- Instructions
- Links to guidelines
- Checkboxes
- Lists
- Other custom elements
After you complete your edits, click Save.
The attestation questionnaire is now ready to be be used in future attestation instances, to be completed by model owners and reviewed and signed off by validators.
Test attestation schedules
These steps are optional and not required to set up attestation — perform only under the direction of ValidMind.
For testing purposes only, you can trigger the attestation process:
In the left sidebar, click Settings.
Under Workspace, select Attestations and then click the attestation to test.
Under Scheduling, hover over an attestation period.
When appears, select Execute Schedule.
Click Confirm.
After executing the schedule, the dashboard of the model owner displays a banner notification that the attestation is ready to be completed.
Manage existing attestation periods
In the left sidebar, click Settings.
Under Workspace, select Attestations and then click the attestation period to edit or remove.
Under Scheduling, hover over an attestation period.
When appears, select Edit.
Make your desired changes to the following:
- name
- start date
- end date
Click Save Period.
Edits to an attestation period will be effective for future occurrences but do not affect previous or in-progress attestation periods.
Under Scheduling, hover over an attestation period.
When appears, select Remove.
Click Delete to confirm the removal.
This action cannot be undone and prevents the attestation period from being triggered in the future. The history of previous attestation periods is unaffected by this action.
